Introduction
Learning how to refinish a bathtub is a cost-effective way to restore an old, stained, or chipped tub without the high expense of replacing it. Refinishing can cost as little as $100, compared to $1,200–$5,000 for a new tub. You can achieve a smooth, glossy finish using products like Rust-Oleum or Ekopel 2K, along with tools like sandpaper, foam rollers, and primer.
This DIY project extends the life of your tub and enhances your bathroom’s appearance. Refinishing a bathtub involves cleaning, sanding, and applying primer and topcoats.
Proper surface preparation and curing are essential for lasting results. By following this simple process, you save money, add value to your home, and enjoy a refreshed, like-new bathtub.
| Step/Category | Details |
| Cost Comparison | Replace: $1,200–$5,000, Refinish: $100 DIY |
| Tools Needed | Kit, sandpaper, tape, respirator, gloves |
| Step 1: Clean | Use Comet cleaner and isopropyl alcohol. |
| Step 2: Sand | Sand with 400-grit paper |
| Step 3: Mask & Cover | Tape edges, cover surrounding areas |
| Step 4: Apply Primer | Apply bonding primer and dry 1-2 hours. |
| Step 5: Apply Topcoat | Apply two coats and dry for 1 hour between coats. |
| Step 6: Cure | Let cure for 48-72 hours. |
| Maintenance | Use mild cleaners and avoid abrasives. |
| Benefits | Saves money, extends tub life, and is eco-friendly |
How To Refinish A Bathtub?
Learning how to refinish a bathtub is a cost-effective way to restore shine and life to an old, stained, or chipped tub without replacing it. You can achieve a smooth, glossy finish using a refinishing kit like Rust-Oleum or Ekopel 2K and tools such as sandpaper, foam rollers, and primer. This DIY project saves hundreds of dollars, adds value to your bathroom, and can extend your tub’s life by several years.
What You’ll Need for the Job?
To properly refinish a bathtub, gather these specific items: a Rust-Oleum Tub & Tile Refinishing Kit, 400-grit sandpaper, painter’s tape (like FrogTape), a respirator mask (such as the 3M 6200 Half Facepiece), gloves, isopropyl alcohol, soft cloths, a foam roller, and a plastic sheet. Each tool is critical to refinishing a bathtub safely and professionally, especially when dealing with harsh fumes and delicate surfaces.
Step 1: Deep Clean the Tub First
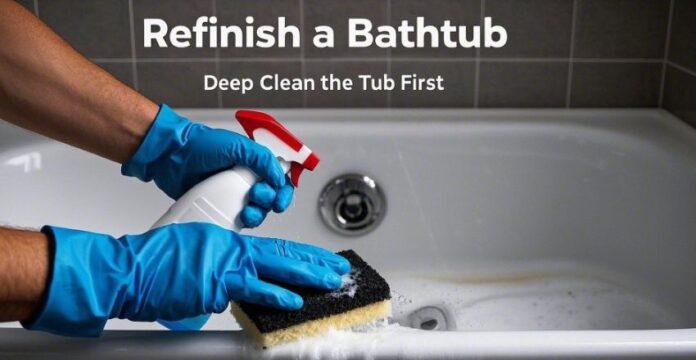
Before anything else, clean the bathtub using Comet powder cleaner and a scouring pad to remove soap scum, oils, and grime. Then, rinse it with hot water and wipe it down with isopropyl alcohol using a microfiber cloth. Skipping this step often leads to peeling or uneven coatings. Anyone trying to understand how to refinish a bathtub must start with a spotless surface for proper adhesion of the primer and topcoat.
Step 2: Sand the Surface Smooth
Once the tub is dry, sand with 400-grit wet/dry sandpaper to scuff the entire surface. This helps the primer and paint grip onto the porcelain or acrylic better. Wear gloves and a mask to avoid breathing in any particles. After sanding, vacuum the debris and wipe everything down again. Sanding is one of the most crucial parts of refinishing a bathtub, ensuring long-lasting results and a smooth finish.
Step 3: Mask and Cover Surroundings
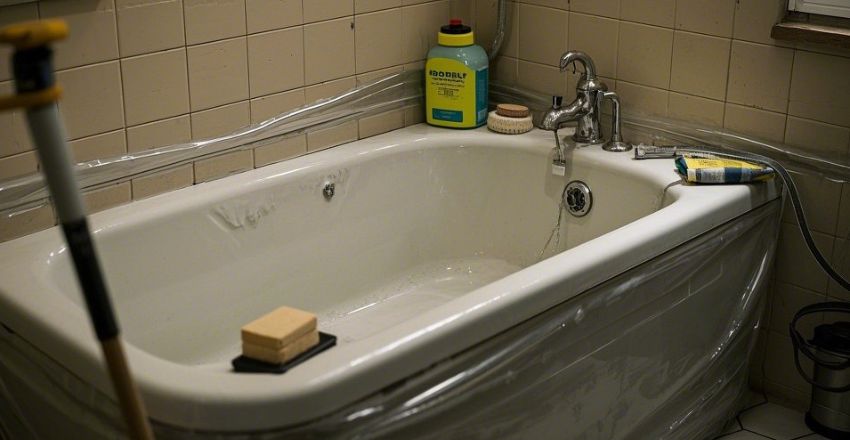
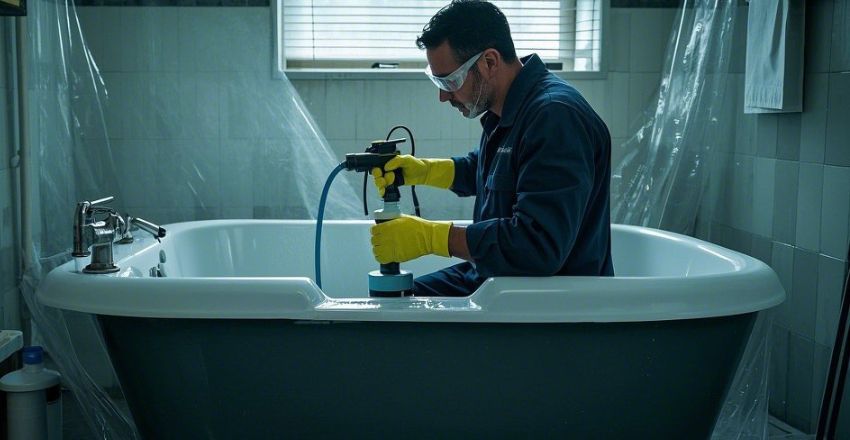
Use blue FrogTape to mask the edges of your tub, including where it meets the tile and faucet fixtures. Then, cover the bathroom floor and nearby walls with a 6-foot plastic drop cloth. Use painter’s plastic and masking tape to protect drains, handles, and faucets. Taking time to prepare your workspace properly is essential in refinishing a bathtub without ruining surrounding surfaces or creating an unnecessary mess.
Step 4: Apply the Bonding Primer
Apply the bonding primer in your refinishing kit, such as the Rust-Oleum Tub & Tile Epoxy Acrylic. Use a 4-inch high-density foam roller or a synthetic bristle brush to cover the tub evenly. Let it dry for about 1 to 2 hours. This step ensures strong adhesion between the old surface and the new topcoat. To refinish a bathtub means effectively knowing the chemistry behind bonding layers together.
Step 5: Roll on the Topcoat
Stir, don’t shake the topcoat to avoid bubbles. Pour it into a paint tray and apply two thin coats with a clean foam roller, allowing each to dry for 1 hour. The product will self-level and create a glossy, smooth finish. Popular products like Ekopel 2K offer high-gloss, durable surfaces. When learning how to refinish a bathtub, precision and patience during painting directly affect how professional your final result looks.
Step 6: Let the Surface Cure
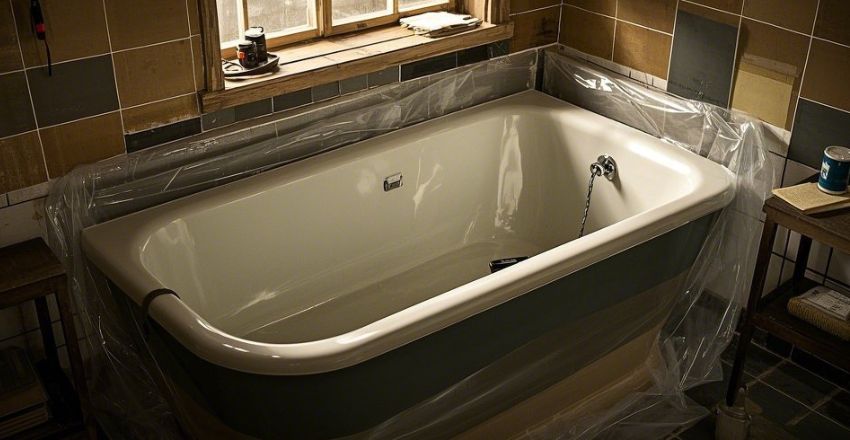
After the final topcoat, allow the tub to cure undisturbed for 48 to 72 hours. If others share your space, place a “Do Not Use” sign nearby. Even light use during this time can leave fingerprints or dents. The curing process hardens the epoxy finish to withstand daily use. Curing is often overlooked when refinishing a bathtub, but skipping it can ruin days of prep and careful application.
Maintenance After Refinishing
Avoid abrasive cleaners like bleach or steel wool to keep your refinished tub looking new. Use mild products such as Method Bathroom Cleaner or a soft sponge for routine cleaning. Do not drop heavy items like shampoo bottles or razors into the tub. A refinished surface can last 7 to 10 years when cared for properly. Knowing how to refinish a bathtub also means protecting your hard work in the long term.
Why Refinish Instead of Replace?
Replacing a bathtub can cost anywhere from $1,200 to $5,000, depending on the model and plumbing involved. On the other hand, refinishing costs as little as $100 if you do it yourself. Brands like Rust-Oleum and Ekopel 2K offer reliable bathtub refinishing kits. When you learn how to refinish a bathtub, you’re saving time, money, and effort—all while extending the life of your existing porcelain or fibreglass tub by years.
Read More: – AirTag Holders: The Ultimate Guide to Style, Security, and Smart Tracking
Conclusion
In conclusion, learning how to refinish a bathtub is a simple, affordable solution to restore your tub’s appearance without needing costly replacements. By following the proper steps—cleaning, sanding, priming, and applying topcoats—you can achieve a smooth, durable finish that lasts for years. With appropriate care, refinishing extends your bathtub’s lifespan and adds value to your bathroom, making it a worthwhile DIY project for any homeowner.
Apart from that if you want to know about “How To Protect Your Home From Future Water Damage” then please visit our “Home Improvement” Category.
FAQs
Refinishing a bathtub costs around $100–$150 for DIY kits, compared to $1,200–$5,000 for replacement, making it a cost-effective option for updating your tub.
The process can take 1-2 days, but curing requires 48-72 hours before the tub is ready.
You can refinish fibreglass tubs using the same refinishing kits, ensuring they are adequately cleaned and prepared before applying the primer and topcoat.
With proper care, a refinished bathtub can last 7-10 years before needing touch-ups or recoating.