

Introduction
Have you ever found yourself in a situation where showing someone your iPhone screen is easier than explaining? Maybe you’re teaching a parent how to use an app, sharing gameplay highlights, creating tutorials for social media, or documenting an issue to share with tech support.
Whatever the case, screen recording with sound on an iPhone is an invaluable tool. iOS includes a built-in screen recording feature that allows you to capture both visuals and audio—whether it’s internal system sounds or external audio from your surroundings. In this extended guide, you’ll learn exactly how to screen record with sound on iphone.
The video will automatically save to the Photos app, where you can view, trim, and share it as needed. This built-in tool is a handy way to create videos for tutorials, social media, or personal use—all with sound included.
Here’s a clear and structured table that explains how to screen record with sound on an iPhone:
| Step | Action | Details |
|---|---|---|
| 1. Add Screen Recording to Control Center | Open Settings > Control Center | Tap the green “+” next to Screen Recording if it’s not already added. |
| 2. Open Control Center | Swipe down from the top-right corner (iPhone X or later) or swipe up (iPhone 8 or earlier) | This gives you access to the recording button. |
| 3. Start a Basic Screen Recording | Tap the Screen Recording icon (circle within a circle) | A 3-second countdown will start before recording begins. |
| 4. Turn On Microphone for External Audio | Press and hold the Screen Recording icon > Tap Microphone (turns red) > Tap Start Recording | Records your voice and external sounds via the mic. Great for tutorials or commentary. |
| 5. Record Only Internal Audio | Long-press the Screen Recording icon > Make sure Microphone is Off > Start Recording | Captures system/app sounds only (e.g., game audio, app music). |
| 6. Record Both Internal and External Audio | Long-press the icon > Turn on Microphone > Start Recording | iOS mixes internal app sounds with mic input. Ideal for gameplay + voice. |
| 7. Stop the Recording | Tap the red recording bar or red dot on Dynamic Island > Tap Stop | You can also return to Control Center and tap the icon again. |
| 8. Find Your Recording | Open the Photos app | Your recording is saved in Recents or Screen Recordings album. |
| 9. Edit the Recording | Open the video in Photos > Tap Edit > Use sliders to trim | Save as New Clip to keep the original unedited version. |
| 10. Troubleshooting Tips | Ensure mic isn’t blocked, mute switch is off, and you have enough storage | Restart your phone or update iOS if recording fails. |
How to Screen Record with Sound on iPhone
Screen recording with sound on an iPhone is a straightforward process that lets you capture both visuals and audio for tutorials, gameplay, or any app activity. To get started, make sure the Screen Recording feature is added to your Control Center by going to Settings, tapping Control Center, and adding Screen Recording if it’s not already included.
Instead of tapping the Screen Recording button right away, press and hold it until a pop-up appears. Here, you’ll see a microphone icon—tap it to turn on the microphone, which allows your iPhone to record external audio like your voice.
Then, tap “Start Recording” and wait for the countdown to begin. While recording, your iPhone will capture everything on your screen along with any audio from the app or your surroundings if the microphone is enabled. Once you’re finished, stop the recording by tapping the red indicator in the status bar or by returning to the Control Center and tapping the Screen Recording button again.
Step 1: Configure Your Control Center to Record Screens
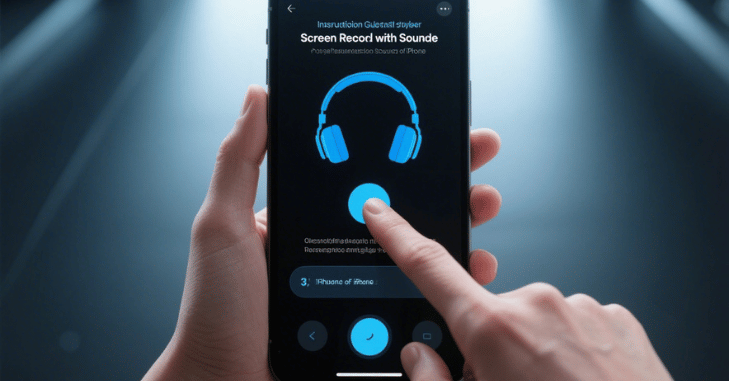
Before you begin recording, make sure the Screen Recording tool is accessible via your Control Center:
- Open the Settings app on your iPhone.
- Scroll down and tap Control Center.
- Under More Controls, find Screen Recording.
To open the Control Center:
• From the upper-right corner of the screen, swipe down on an iPhone X or later model.
• To access the top of the screen on an iPhone 8 or before, swipe up from the bottom.
Adding it once means it’s always a quick swipe away.
Step 2: Starting a Screen Recording
Once Screen Recording is in your Control Center, starting a recording is quick and simple:
- Open your Control Center with a swipe.
- Tap the Screen Recording icon (a solid circle inside another circle).
- For more options, long-press or 3D Touch the icon.
This opens up the customization panel where you can choose whether to include audio and which apps to broadcast to if you’re live streaming.
Step 3: Capture External Sound Using the Microphone
If you want to narrate what you’re doing, explain steps aloud, or record ambient noise, follow these steps:
- Long-press the Screen Recording icon in Control Center.
- Tap the Microphone icon at the bottom to turn it on (it will turn red).
- Tap Start Recording.
After a three-second countdown, the recording begins. Everything on-screen will be recorded along with your microphone input. This setup is perfect for making tutorials, commentary videos, or capturing conversations.
Step 4: Record Only Internal Audio (App or System Sounds)
Want to record in-app audio like music, video sound, or game effects without any external noise? You can! Here’s how:
- Open Control Center.
- Long-press the Screen Recording icon.
- Ensure the Microphone is off (icon appears gray).
- Tap Start Recording.
This setup captures the internal sounds of your iPhone, such as app soundtracks or video playback, but won’t include your voice or background noise.
Note: Some apps may restrict audio capture due to copyright protections.
Step 5: Combine Internal and External Audio
Want to capture both game sound and your voice commentary at the same time? No problem. Just follow the same steps for screen recording, but make sure to turn on the microphone before you start. iOS will intelligently mix the system audio with your microphone input, allowing both sounds to be recorded together seamlessly. This feature is perfect for YouTubers, gamers, or educators who want to add a voice-over on top of app content.
Step 6: Stop the Recording
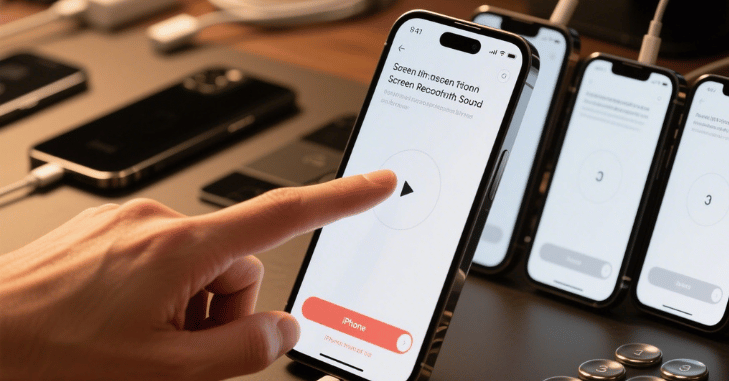
Finished recording your video? Stopping the screen recording is simple. Just tap the red recording indicatlor in the status bar or on the Dynamic Island, depending on your iPhone model. To stop the recording, press Stop when the prompt comes.
As an alternative, you can stop Screen Recording by going back to the Control Center and tapping the icon once more. It will be instantly saved to the Photos app after the recording is finished. You can find it in either the Recents album or the dedicated Screen Recordings album.
Step 7: Edit Your Screen Recording
Basic trimming is built right into iOS, making it easy to quickly edit your screen recordings. To trim a video, open the Photos app and find the recording you want to edit. Tap on it, then select the Edit option.
To cut the start or finish of the movie as necessary, drag the sliders at the bottom of the screen. Once you’re satisfied with the changes, tap Done and choose Save as New Clip to keep the trimmed version without affecting the original.
If you’re looking for more advanced editing features like adding text, music, or transitions, consider using third-party apps. iMovie is a free and powerful video editor from Apple, while apps like CapCut and InShot offer more creative tools for detailed edits and customization.
Troubleshooting: Fixing Common Issues
To ensure your iPhone screen recording captures sound properly, start by making sure the mute switch on the side of your iPhone is turned off. If you’re trying to record external sound, such as your voice or ambient audio, double-check that the microphone is enabled before you begin recording.
Keep in mind that some apps may block internal audio recording due to DRM restrictions or copyright protections. For the best audio quality, try to record in a quiet environment and consider using AirPods or an external microphone.
Also, make sure your microphone isn’t being obstructed by your phone case or your fingers. It’s important to have enough available storage space on your device, as a lack of storage can prevent recordings from saving correctly. If you encounter issues, try restarting your iPhone and attempting the recording again. Finally, ensure your device is updated to the latest iOS version, as software updates often fix bugs and improve performance.
Read More: – The Growing Demand for Solar Power Generators in the UK
Bonus Tips for Power Users
- Use Do Not Disturb to prevent notifications from interrupting your recording.
- Screen mirror to a Mac using QuickTime if you need desktop-level control.
- Record in landscape mode for videos intended for YouTube or wide-screen formats.
- Use AssistiveTouch if you struggle with gestures or want on-screen controls.
Conclusion
Screen recording with sound on your iPhone opens up so many possibilities—from professional tutorials and gaming videos to capturing memorable video calls or personal walkthroughs. iOS makes the entire process seamless, intuitive, and customizable.
By following the steps above, you’ll be well on your way to creating high-quality, informative, or entertaining content straight from your device. So go ahead—enable that mic, hit record, and start capturing your world, one swipe at a time. Always keep your iPhone updated to the latest version of iOS to ensure full compatibility, performance, and access to the newest features.
Apart from that, if you are interested to know about “Comprehensive Review of the Eero Pro 6E: Advanced Wi-Fi 6E Router for Ultimate Home Connectivity” then visit our “Tech” category.
FAQs
To enable screen recording, go to your iPhone’s Settings, then tap on Control Center. Scroll down to find Screen Recording and tap the green plus sign next to it. This adds the screen recording option to your Control Center so you can access it easily.
To record with sound, swipe down from the top-right corner of the screen to open the Control Center. Instead of just tapping the Screen Recording button, press and hold it. Tap the microphone icon so it turns red, indicating it’s on, then tap Start Recording.
If your screen recording has no sound, it could be because the microphone wasn’t turned on when you started recording. Also, keep in mind that some apps may restrict internal audio from being recorded.
iPhones generally allow you to record internal audio or microphone audio, but not always both clearly at the same time. If you turn on the microphone, you can capture external sound like your voice, but internal app audio might get muted depending on the app and iOS version.