
Introduction
Tired of your outdated or damaged kitchen or bathroom design? Learning how to remove tile backsplash is a practical and rewarding DIY project that can completely transform the look of your space. Whether you’re upgrading to a modern aesthetic or simply preparing for renovation, removing the old backsplash is the first critical step. Resale Value of Luxury Homes is a useful companion read here.
With the right tools, a bit of patience, and proper preparation, this task is entirely achievable for most homeowners. By turning off power to electrical outlets, protecting nearby surfaces, and carefully loosening each tile, you’ll be able to clear the wall without causing unnecessary damage. Once you’ve mastered how to remove tile backsplash, you’ll be well on your way to creating a fresh, updated backdrop that better suits your style and needs.
| Section | Summary |
| Introduction | Removing tile backsplash is a DIY-friendly task that updates your space. |
| Why Remove It? | Style upgrades, damaged tiles, or remodeling needs. |
| Tools & Materials | Includes utility knife, pry bar, hammer, chisel, spackle, sandpaper, etc. |
| Step-by-Step Process | Prep → Score grout → Loosen first tile → Remove all tiles → Scrape adhesive → Repair wall |
| Tips | Work slowly, use the right tools, and apply heat for stubborn adhesive. |
| When to Call a Pro | Mold, cement board, or electrical concerns. |
| Cleanup & Disposal | Bag debris, vacuum dust, and follow local disposal rules. |
| Next Backsplash Options | Subway, mosaic, peel-and-stick, or slab—vary in style, cost, and ease. |
How to Remove Tile Backsplash?
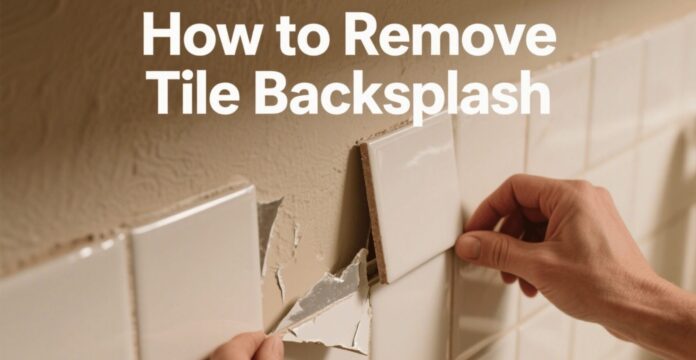
How to Remove Tile Backsplash? Removing a tile backsplash is a manageable DIY task that can refresh the look of your kitchen or bathroom and prepare the space for a new design. The process begins with proper preparation, turning off the power to any nearby outlets, removing outlet covers, and protecting surrounding surfaces such as countertops and floors with drop cloths or towels.
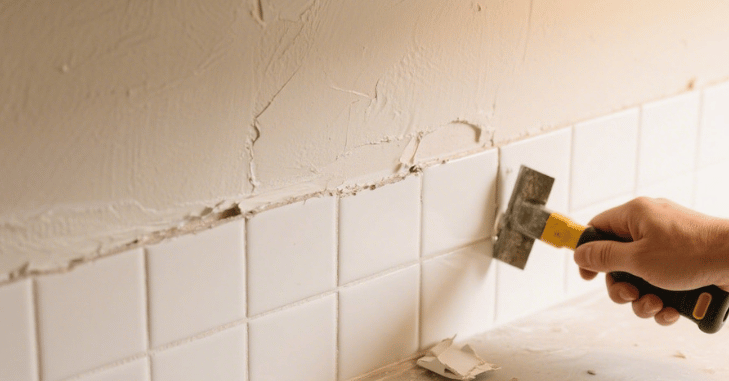
Once the area is secure, use a utility knife to score the grout lines between the tiles, which helps to loosen their grip on the wall. Start prying from an edge or a naturally weak spot, like near an outlet or the end of a row, using a putty knife or chisel and gently tapping it with a hammer to lift the first tile. Continue removing the rest of the tiles by wedging the pry bar or chisel behind them and working methodically to avoid damaging the drywall.
After the tiles are off, scrape away any leftover adhesive with a putty knife or scraper, and if needed, apply water or a heat gun to soften particularly stubborn spots. Finally, inspect the wall for damage, fill any holes or gouges with spackle or joint compound, and sand the surface smooth once it dries. With the backsplash removed and the wall prepped, you’ll be ready to move forward with a fresh new installation.
Why Remove a Tile Backsplash?
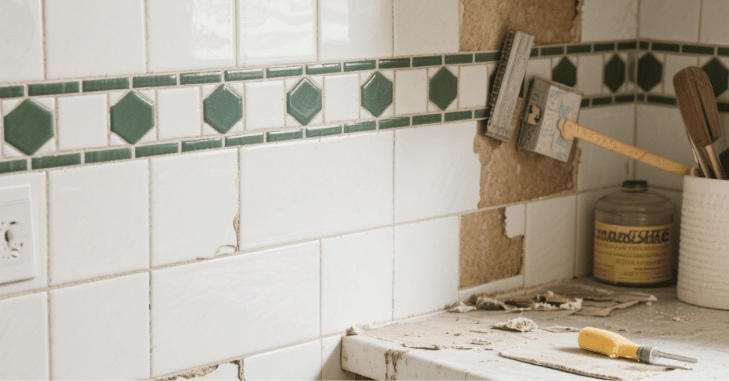
There are several reasons homeowners choose to remove a backsplash:
- Outdated Design: Styles change, and you might want a more modern or personalized look.
- Damage: Cracked, chipped, or loose tiles can be unsightly and unsafe.
- Renovation: New countertops or cabinetry might require a matching backsplash.
Tools and Materials Needed
Before starting, gather the following tools and materials:
Tools
- Putty knife or painter’s tool
- Utility knife
- Flat pry bar or crowbar
- Hammer or mallet
- Chisel or tile removal tool
- Screwdriver (if outlet covers need to be removed)
- Drop cloth or old towels
- Safety goggles and gloves
- Dust mask (optional but recommended)
Materials
- Spackle or joint compound (for wall repair)
- Sandpaper or sanding block
- Bucket and sponge
- Trash bag or bin for debris
Step-by-Step Process to Remove Tile Backsplash
Step 1: Prep the Area
Preparation is key to a smooth tile removal process.
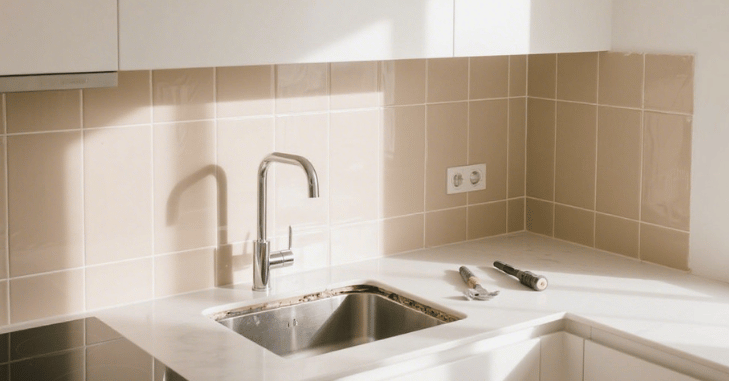
- Turn off power to any electrical outlets on the backsplash wall.
- Remove outlet and switch covers carefully using a screwdriver.
- Protect surfaces such as countertops and floors using a drop cloth, towels, or cardboard.
- Ventilate the area, especially if you’re working in a small or enclosed space.
Step 2: Score the Grout Lines
Use a utility knife or grout removal tool to cut along the grout lines between tiles. This step helps weaken the adhesion and makes tile removal easier.
- Focus on creating deep enough cuts along each tile edge.
- For stubborn grout, a rotary tool or oscillating multi-tool can speed up the process.
Step 3: Loosen the First Tile
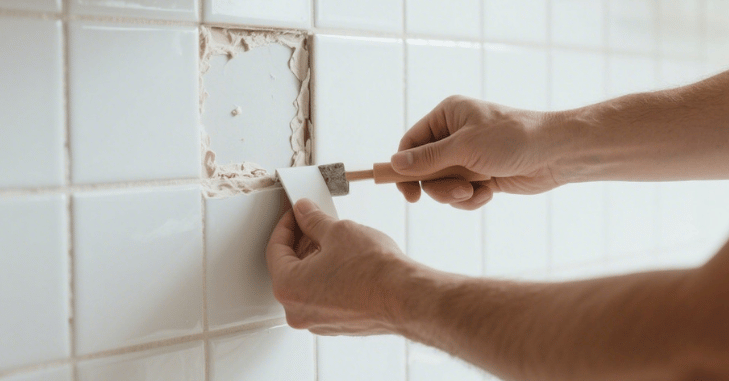
Start at the edge or a corner where the tile ends or near an outlet cutout—these areas usually come off more easily.
- Insert a putty knife or chisel under the tile edge.
- Tap gently with a hammer to lift the tile.
- Once the tile lifts slightly, switch to a pry bar for better leverage.
Step 4: Remove Remaining Tiles
Now that the first tile is out, continue along the backsplash.
- Slide the pry bar behind each tile and gently pull.
- Be cautious not to damage the drywall underneath.
- If the tiles are stubborn, apply more pressure with a hammer and chisel.
Tip: Some tiles may come off in pieces, especially if they’re thin or brittle. Don’t worry—just work steadily and remove fragments as needed.
Step 5: Scrape Off Remaining Adhesive
Once all tiles are removed, you’ll likely have leftover thinset or mastic adhesive on the wall.
- Use a putty knife, scraper, or oscillating tool to scrape it off.
- For thick adhesive, apply warm water with a sponge to soften the glue before scraping.
Step 6: Repair and Smooth the Wall
Inspect the drywall for damage and holes.
- Patch gouges with spackle or joint compound.
- Let the wall dry, then sand it smooth.
- Wipe down with a damp sponge to remove dust before applying new paint or tiles.
Tips for Easier Tile Backsplash Removal
When removing a tile backsplash, it’s important to work slowly and carefully, as rushing the process can increase the risk of damaging the drywall underneath. Using the right tools is also essential; a chisel and hammer provide better control and precision compared to using brute force, which can cause unnecessary wall damage.
In cases where the adhesive is particularly strong, applying heat to the tiles with a heat gun can soften the glue, making tile removal significantly easier. Additionally, if you need to disconnect any electrical outlets or switches during the process, be sure to label the wires clearly to ensure easy and safe reconnection later on.
When to Call a Professional
While many homeowners can handle tile removal as a DIY task, consider hiring a professional if:
- You encounter mold or water damage behind the backsplash.
- The tiles were set on cement board or mesh-backed stone, which are harder to remove.
- You’re uncomfortable dealing with electrical components.
Disposal and Cleanup
After removing the tile backsplash, it’s important to manage the cleanup properly. Start by placing all debris, including broken tiles and grout, into a heavy-duty trash bag or disposal bin to keep the area tidy and safe. Next, vacuum up any remaining dust and small tile fragments to ensure a clean workspace, especially if you plan to install a new backsplash right away. Finally, make sure to dispose of the tiles and grout according to your local waste regulations, as some areas may have specific guidelines for construction materials.
What’s Next? Installing a New Backsplash
| Backsplash Option | Description | Style Appeal | Ease of Installation | Cost Range |
| Subway Tile | Classic rectangular tiles, typically arranged in a brick pattern. | Timeless & versatile | Moderate | $$ |
| Glass Mosaic | Small, colorful glass tiles arranged in intricate patterns or sheets. | Modern & vibrant | Moderate to challenging | $$$ |
| Peel-and-Stick Panels | Adhesive tiles that can be applied directly to the wall with minimal effort. | DIY-friendly & trendy | Very easy | $–$$ |
| Marble/Quartz Slab | Large, continuous stone or engineered slabs for a seamless look. | Luxurious & sleek | Difficult (pro install) | $$$$ |
Final Thoughts
Now that you understand how to remove tile backsplash? you’re well-equipped to take on this transformative home improvement project. Whether your goal is to update an outdated look, fix damaged tiles, or prepare the space for a full kitchen or bath remodel, a clean, smooth wall is the perfect canvas for something new.
With thorough preparation, careful removal techniques, and proper disposal of materials, the process can be surprisingly smooth. Once the old tiles are gone and the surface is cleaned and repaired, you’re ready to install a backsplash that matches your current vision, whether it’s classic subway tile, a bold glass mosaic, or a sleek marble slab.
Apart from that if you want to know about “Why Fast Action Matters In Commercial Water Damage Scenarios?” then please visit our “Home Improvement” Category.
FAQs
Yes, removing tile backsplash is a DIY-friendly task with the right tools and preparation.
Common reasons include outdated style, damaged tiles, or planning a kitchen or bathroom remodel.
You’ll need a utility knife, pry bar, hammer, chisel, sparkle, sandpaper, and protective gear.
Work slowly, start from a weak edge, and use gentle pressure with a pry tool to lift tiles carefully.
Call a pro if you encounter mold, cement board backing, or electrical complications.